Webflow SEO Guide: Best Tool to Boost Ranking

There are many great tools out there to help you boost your website ranking, and a lot of different techniques, but Webflow is for sure one of the best. In today’s article, we’ll show you how to set up your on-page SEO in Webflow in order to make your website visible on search engines and what to do with it after your website goes live.
Understanding SEO
The word “SEO” stands for search engine optimization and thus it literally means that you need to do whatever search engines are asking from you in order for your website to be easier to find online.
Every minute, millions of people are using search engines like “Google” and “Bing” to find what’s interesting to them and because of that, if you have a website, you need to make sure that they will find you. With so many websites on the internet, in order to stand out, we need to narrow down our niche and use specific keywords to be easier to find. Not just that, we also need to describe our images as much as possible so that search engines can recommend them when someone is looking for images.
Having all of this is not only important to be easier to find, but also to provide relevant information to your website in order to avoid all those people leaving instantly when they see that your website is not giving them what they were looking for (this is called bounce rate).
Know knowing how important all this is, we need to know how to do all of that properly in order to achieve the best possible results and maximize conversion.
Why Webflow?
The answer to this question is simple, it’s because it’s the best. There are many tools out there, but Webflow is super simple to use and after your website is completed you can do any other off-page SEO techniques like with any other tool on the market.
In Webflow you can add all these things easily without even knowing the code and it’s even easier to update later on. That’s its main advantage and that is why it’s popular.
On-Page SEO Setup
There are two types of SEO’s “On-Page” and “Off-Page”. On-Page is the one we do on the website directly, which is title tag, meta description, alt text, open graph, robots.txt, sitemap, etc. and Off-Page is everything we do externally, which is doing everything outside of your website to drag traffic to it, like backlinking, social media marketing, influencer marketing and all sorts of ads, pretty much anything that will drag people to your website.
In order to achieve the best website performance and make our website visible, there are things we need to do in our Webflow website to be able to do that, and that are:
- Image compression
- H titles
- Title tag and meta description
- Alt text
- Favicon, Web Clip, and Open Graph images
- Sitemap
- Page indexing
- Clean up
- Redirects
- Integrations
Image compression
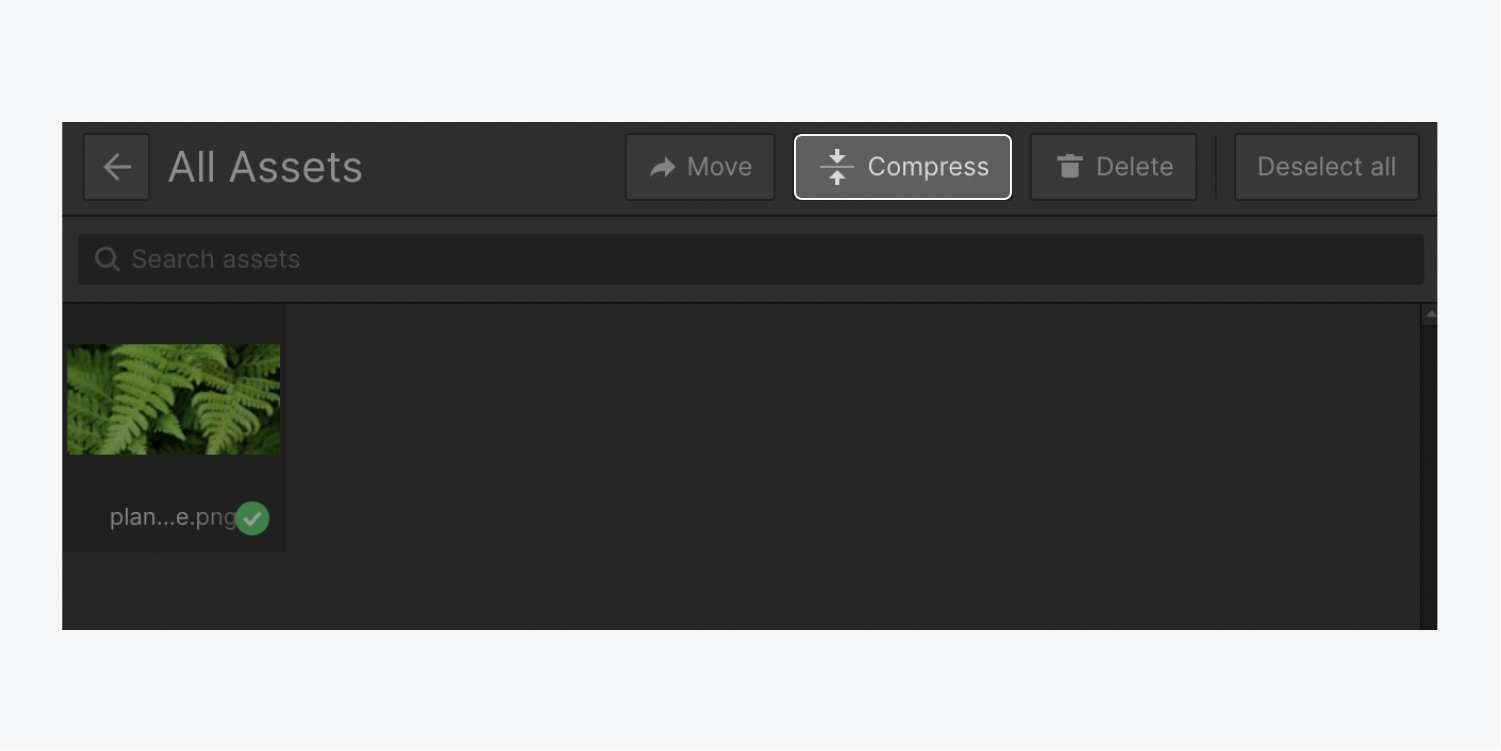
We need to do everything we can in order to make our website perform better in terms of speed and accessibility. Having lighter images on a website helps us do that, so our advice is to compress them as much as possible and after uploading them on Webflow use Webflow’s compression to transfer them into WebP format, which is an image format for websites, the lightest possible.
H titles
In order for search engines to know that we don’t just have a bunch of text on our website and that we also have titles, we need to use H1 to H6 titles inside the Webflow. Where H1 is the largest and H6 the smallest, but keep in mind that you can have only 1 H1 title per page and the rest needs to be used in an ordered fashion from top to bottom of the page.
Title tag and meta description
This is what you see when you search for a website on any search engine in search results, where “title tag” is the title and “meta description” is the description of the page that show’s up in the search results. You need to have this unique for every page in order for users to understand what is about, so try to think from their perspective. It is recommended to have less than 60 characters for “title tag” and under 155 for “meta description”.

Alt text
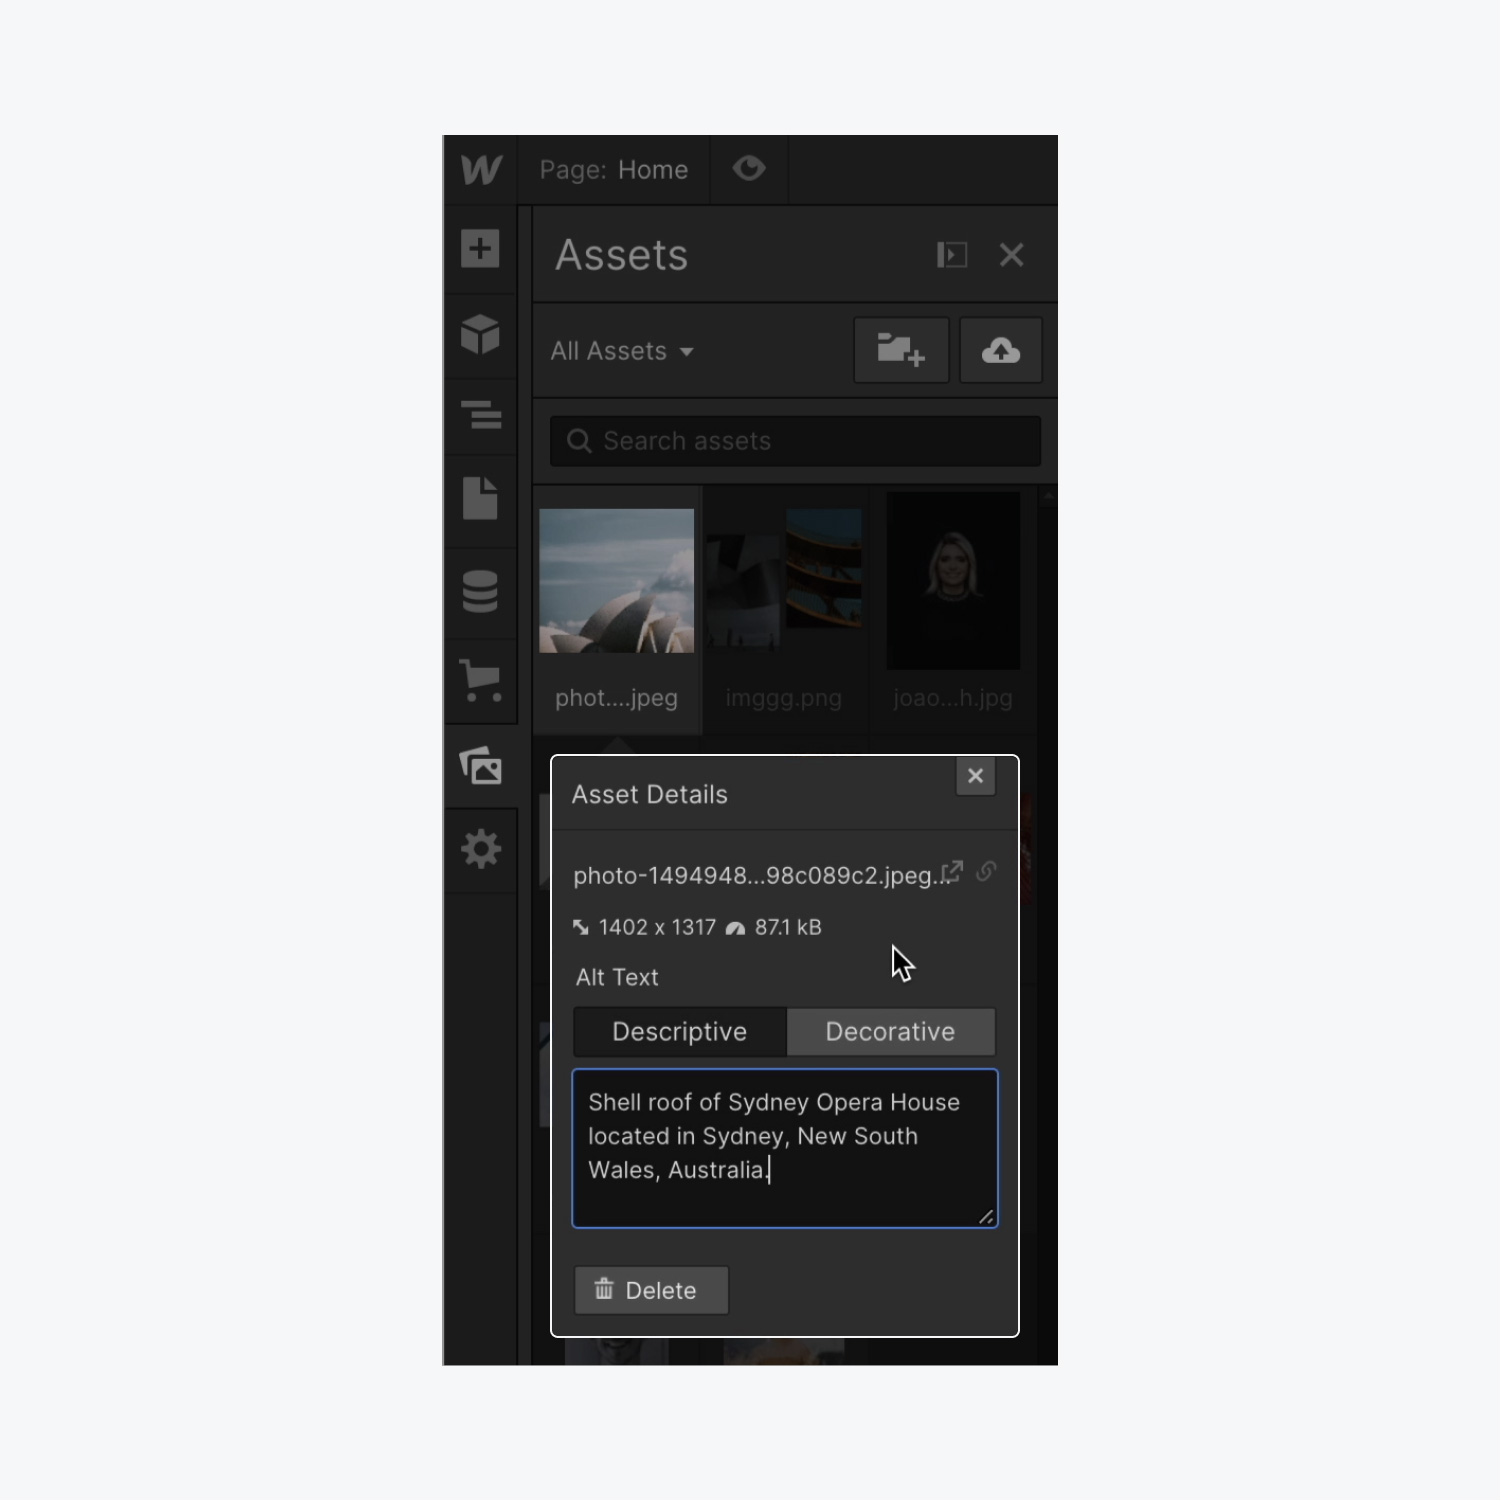
This is literally a description of an image. It is important for all images to have as descriptive as possible text on them because search engine bots can’t see them but can understand the text. So when someone is searching for an image they will recommend the ones that have the most relevant description.
Favicon, Web Clip, and Open Graph images
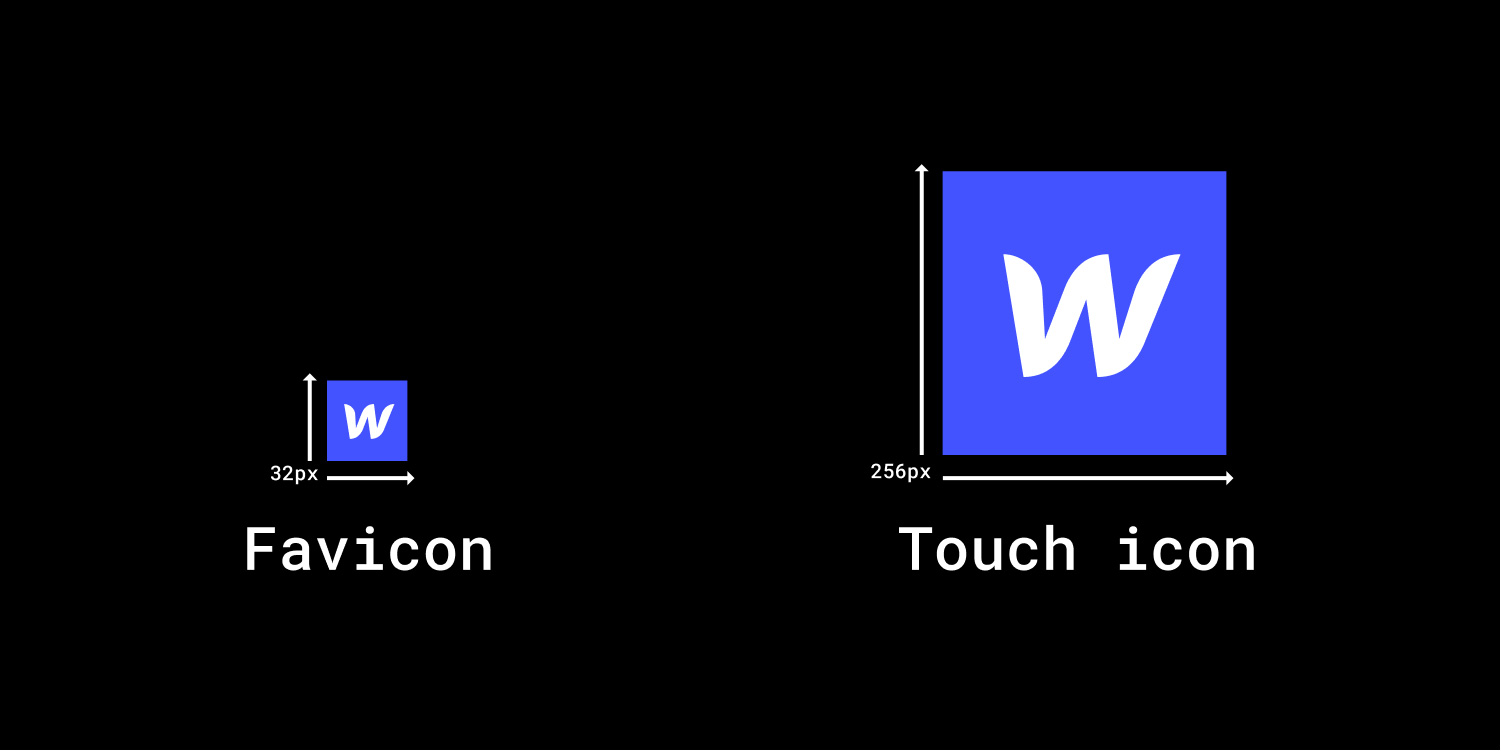
Favicon is a super small image, 32x32px and it’s usually a logo on a browser next to a page name. A web clip is an image that shows up when your website link is saved to an iPhone home screen and the open graph is an image that is shown only when someone shares a link of a page to a social media. Web clip is only one image 256x256px in size and an open graph can be added to every page separately after you upload an image to a Webflow and copy the link of it and paste it on page settings.
Sitemap
Sitemap helps search engine bots understand your website structure easily and Webflow made this very easy to do. Just by one click of a button, you can have Webflow auto-generated sitemap at your site’s root level of pretty good quality.
Page indexing
This refers to the process by which search engines crawl and analyze the content of web pages to determine their relevance and importance.
This is a very important step for SEO and to ensure that your page is discoverable by users who are searching for relevant information your website content needs to be relevant to what they are showing. Pages that are considered low-quality, duplicate, or irrelevant may not be indexed, so make sure all of your content is connected to how information is presented on your website.
One of the ways to organize which pages or sections will and will not be indexed is by using robots.txt. This option you’ll need to add by yourself in Webflow if you want to have some parts of your website not indexed and shown to the users.
Clean up
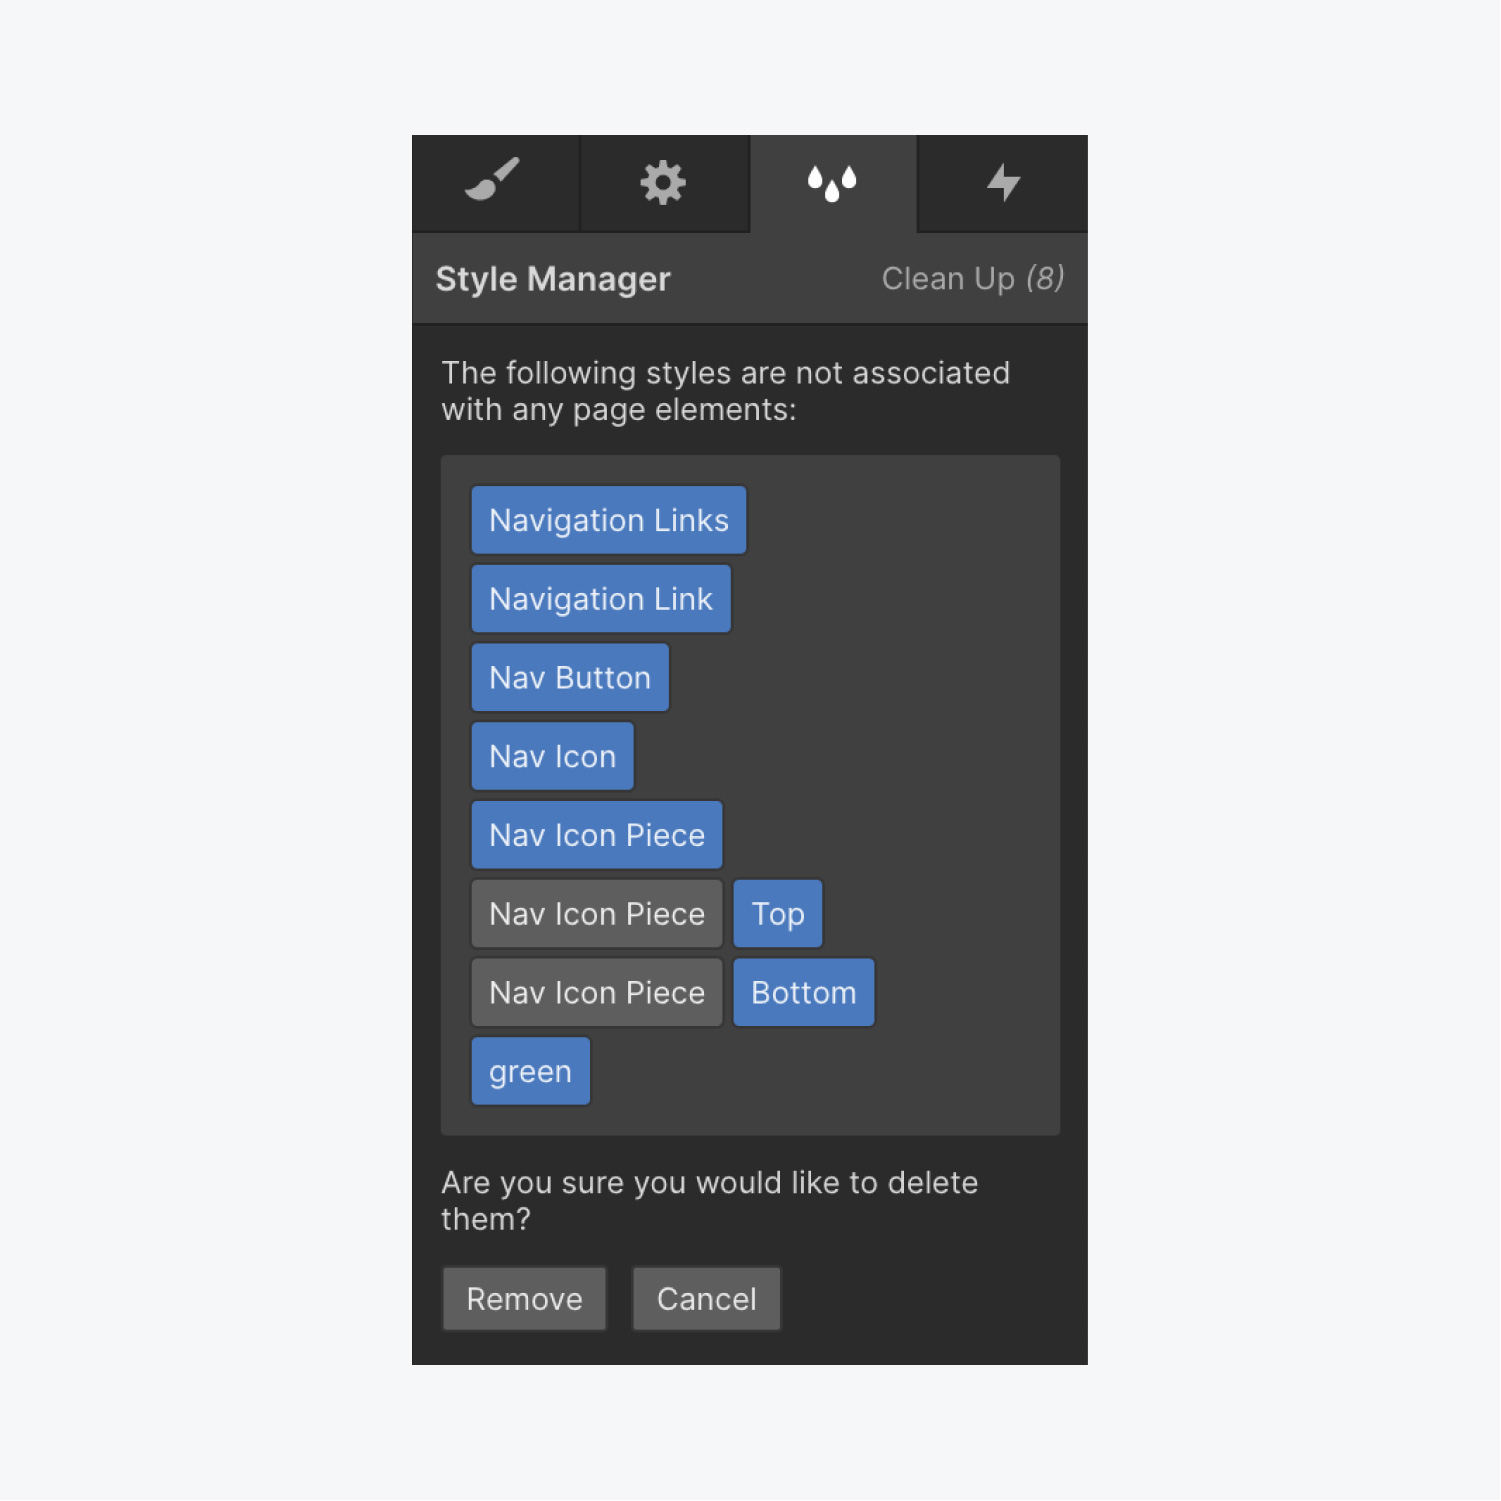
At this very last step, you want to make sure that you deleted all duplicated elements, such as classes, animations, unused images, and fonts. You also want to make sure that you enable an option on page settings to minimize HTML, CSS, and JS code, to make the website even lighter and faster.
Redirects
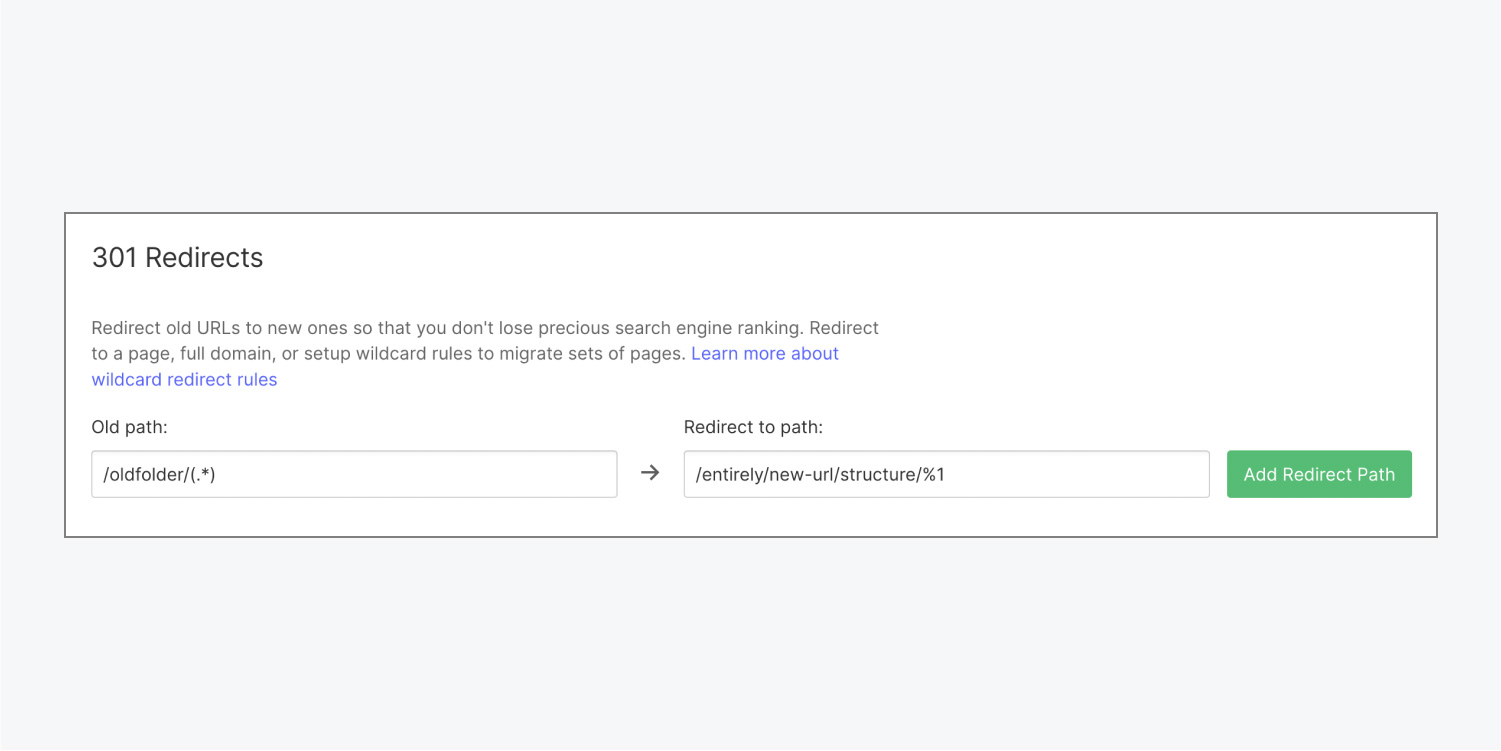
If you already had a website and now created a new version of it and you decided that some pages you don’t want to have anymore, it’ll be wise to redirect them to a new website using 301 redirects on a page setting in Webflow. This is also an important step since you don’t want users to go on some of your pages that don’t exist anymore and not even enter your website, remember, every detail counts.
Integrations
To improve your website visibility even more, make sure to connect it with Google Analytics, Google Optimize and Google search console. All these things help you keep track of your users and provide better and more relevant content. There are, of course, even more tools to add but be careful with that since if you have a lot of them, they can slow down your website.
This is it, if you follow all these steps you’ll have website that is visible by all search engines and people will be able to find you. Of course, if you want to increase your traffic even more you’ll have to work on off-page SEO, but that’s a story for the another blog post.
.avif)
.svg)
.svg)
.svg)
.svg)
.svg)
.svg)


.jpg)


