Build Powerful eCommerce Websites in Webflow – Step-by-Step Guide

Webflow eCommerce offers an intuitive yet powerful way to build and scale online stores without coding. It gives businesses full control over design, checkout experience, and CMS structure, all while maintaining lightning-fast performance and security. Whether you’re a small business, creative entrepreneur, or growing enterprise, Webflow makes it easy to manage products, accept global payments, and customize every detail of your store. With transparent pricing and built-in hosting, it’s a flexible, all-in-one platform that bridges creativity with functionality, ideal for anyone wanting a unique, high-performing eCommerce website.
Creating an e-commerce website can be challenging, but using Webflow makes the process both intuitive and powerful.
Whether you’re launching a small business or scaling up an established brand, your online store needs to be fast, reliable, and easy to manage. That’s where Webflow, a powerful website design platform, comes in. As a Webflow development agency, we’ve seen how Webflow’s robust e-commerce features can transform the way businesses run their online stores. With its intuitive design tools and powerful integrations, Webflow has become a go-to platform for businesses looking to build custom online stores without the constraints of traditional e-commerce platforms.
In this step-by-step guide to building an e-commerce website with Webflow, we’ll cover everything from setting up your store to configuring payment gateways and understanding Webflow’s pricing options.
Who is Webflow eCommerce ideal for?
Webflow is a versatile platform that combines design flexibility with robust e-commerce functionality. It’s ideal for businesses of all sizes looking to create custom, high-performance online stores.
- Small businesses and startups
If you’re launching a new e-commerce store and want full control over your design and functionality, Webflow is a great choice. It’s especially beneficial for small businesses that want a unique, branded website without the need for extensive technical knowledge. As a Webflow design agency, we’ve helped numerous startups create high-converting online stores that perfectly represent their brands.
- Creative entrepreneurs and designers
Webflow also caters to creative entrepreneurs and designers who want to craft visually stunning online stores. If you prioritize user experience and aesthetics but don’t want to compromise on functionality, Webflow’s intuitive drag-and-drop interface allows you to create a bespoke e-commerce store that stands out.
- Growing enterprises
For growing businesses that need more advanced features and scalability, Webflow’s powerful CMS (Content Management System) can support product catalogs, customer management, and sales analytics. Integrations with payment gateways like Stripe and PayPal make it easier to accept payments globally, and Webflow’s hosting capabilities ensure your site performs well even as your business grows.
- Webflow development agencies
As a Webflow expert and development agency, we specialize in building custom e-commerce solutions that are scalable, secure, and performance-optimized. Webflow’s e-commerce platform gives us the tools to create highly customized online stores that meet the unique needs of our clients.
Building your eCommerce website in Webflow
This step-by-step guide to building an e-commerce website with Webflow will show you how to unlock its full potential.
Step 1: Set up your Webflow account
If you don’t already have a Webflow account, the first step is to sign up for one. Go to Webflow’s website and create an account. Once you’re logged in, select the option to create a new project.
Step 2: Choose an eCommerce template or start from scratch
Webflow offers a variety of e-commerce templates that you can customize to fit your needs. These templates come with pre-designed structures, including product pages, checkout pages, and more, which save you time during the setup process. However, if you prefer full creative control, you can start from a blank canvas and build your store from scratch.
Step 3: Customize your eCommerce design
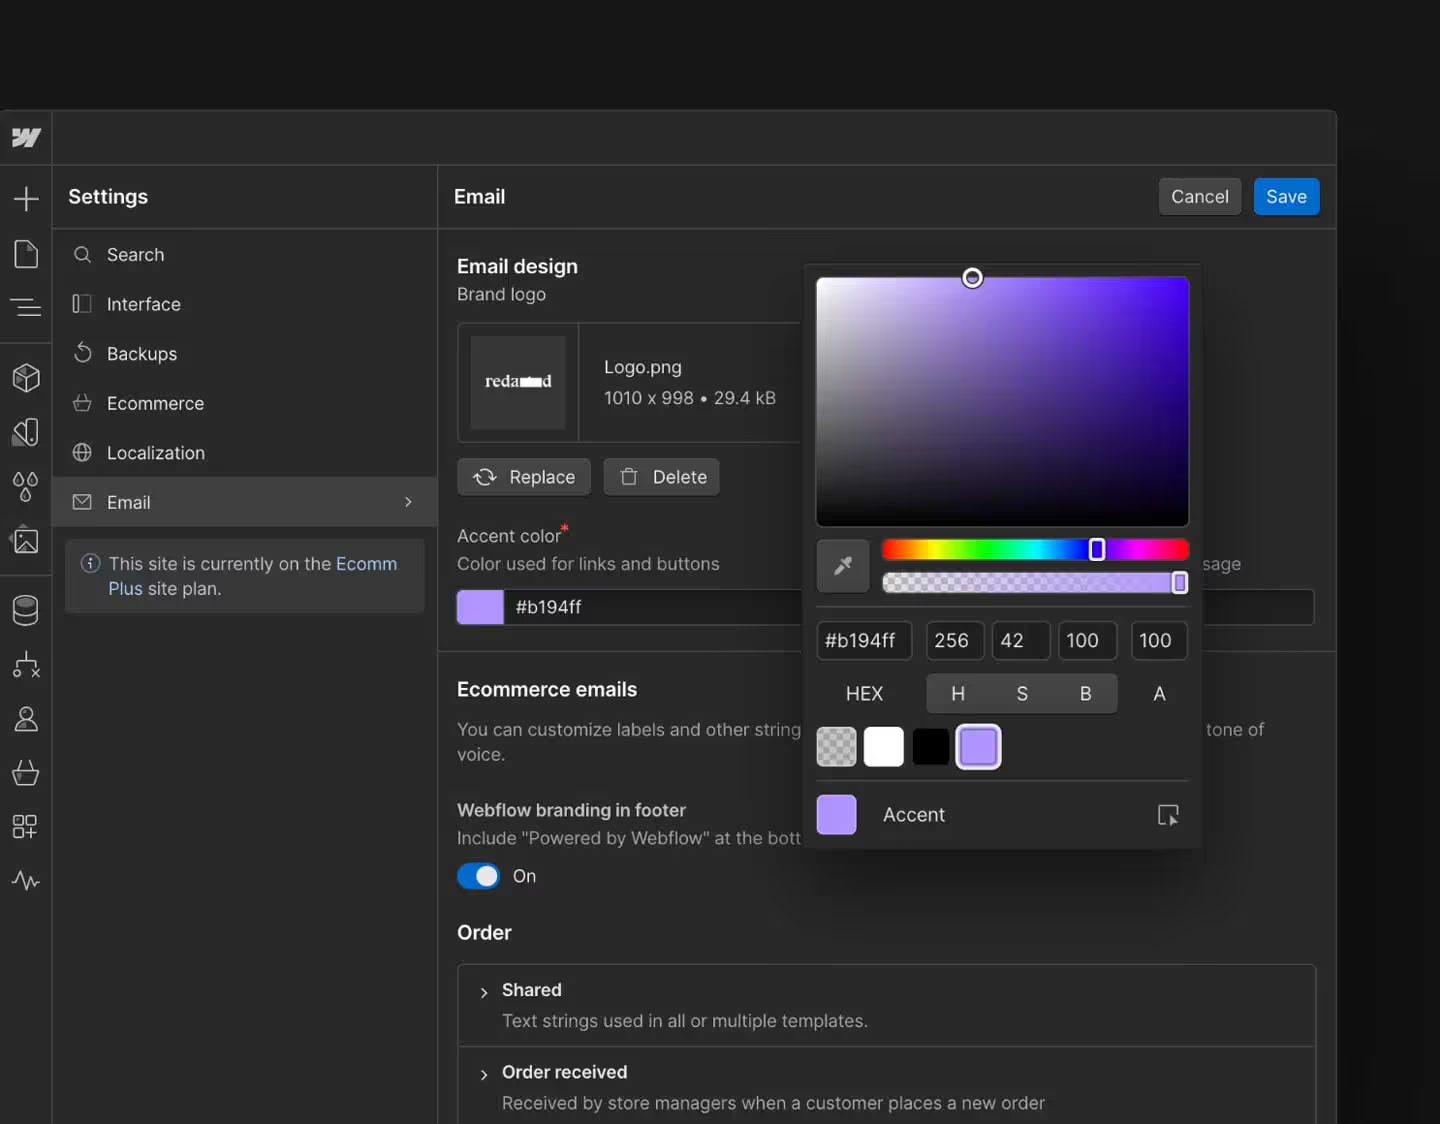
One of Webflow’s greatest strengths is its design flexibility. You can fully customize your store’s layout, product pages, and navigation to ensure it aligns with your brand. You can change fonts, colors, and imagery with ease, and Webflow’s responsive design tools allow you to optimize your site for both desktop and mobile users.
When designing your e-commerce site, focus on the following areas:
- Navigation: Ensure your website’s navigation is intuitive and easy to use. Categories should be clearly defined, and products should be easy to find.
- Product Pages: Customize your product pages to include high-quality images, descriptions, and detailed specifications. Include an easy-to-use add-to-cart button, and consider integrating features like product zoom or video previews for a better customer experience.
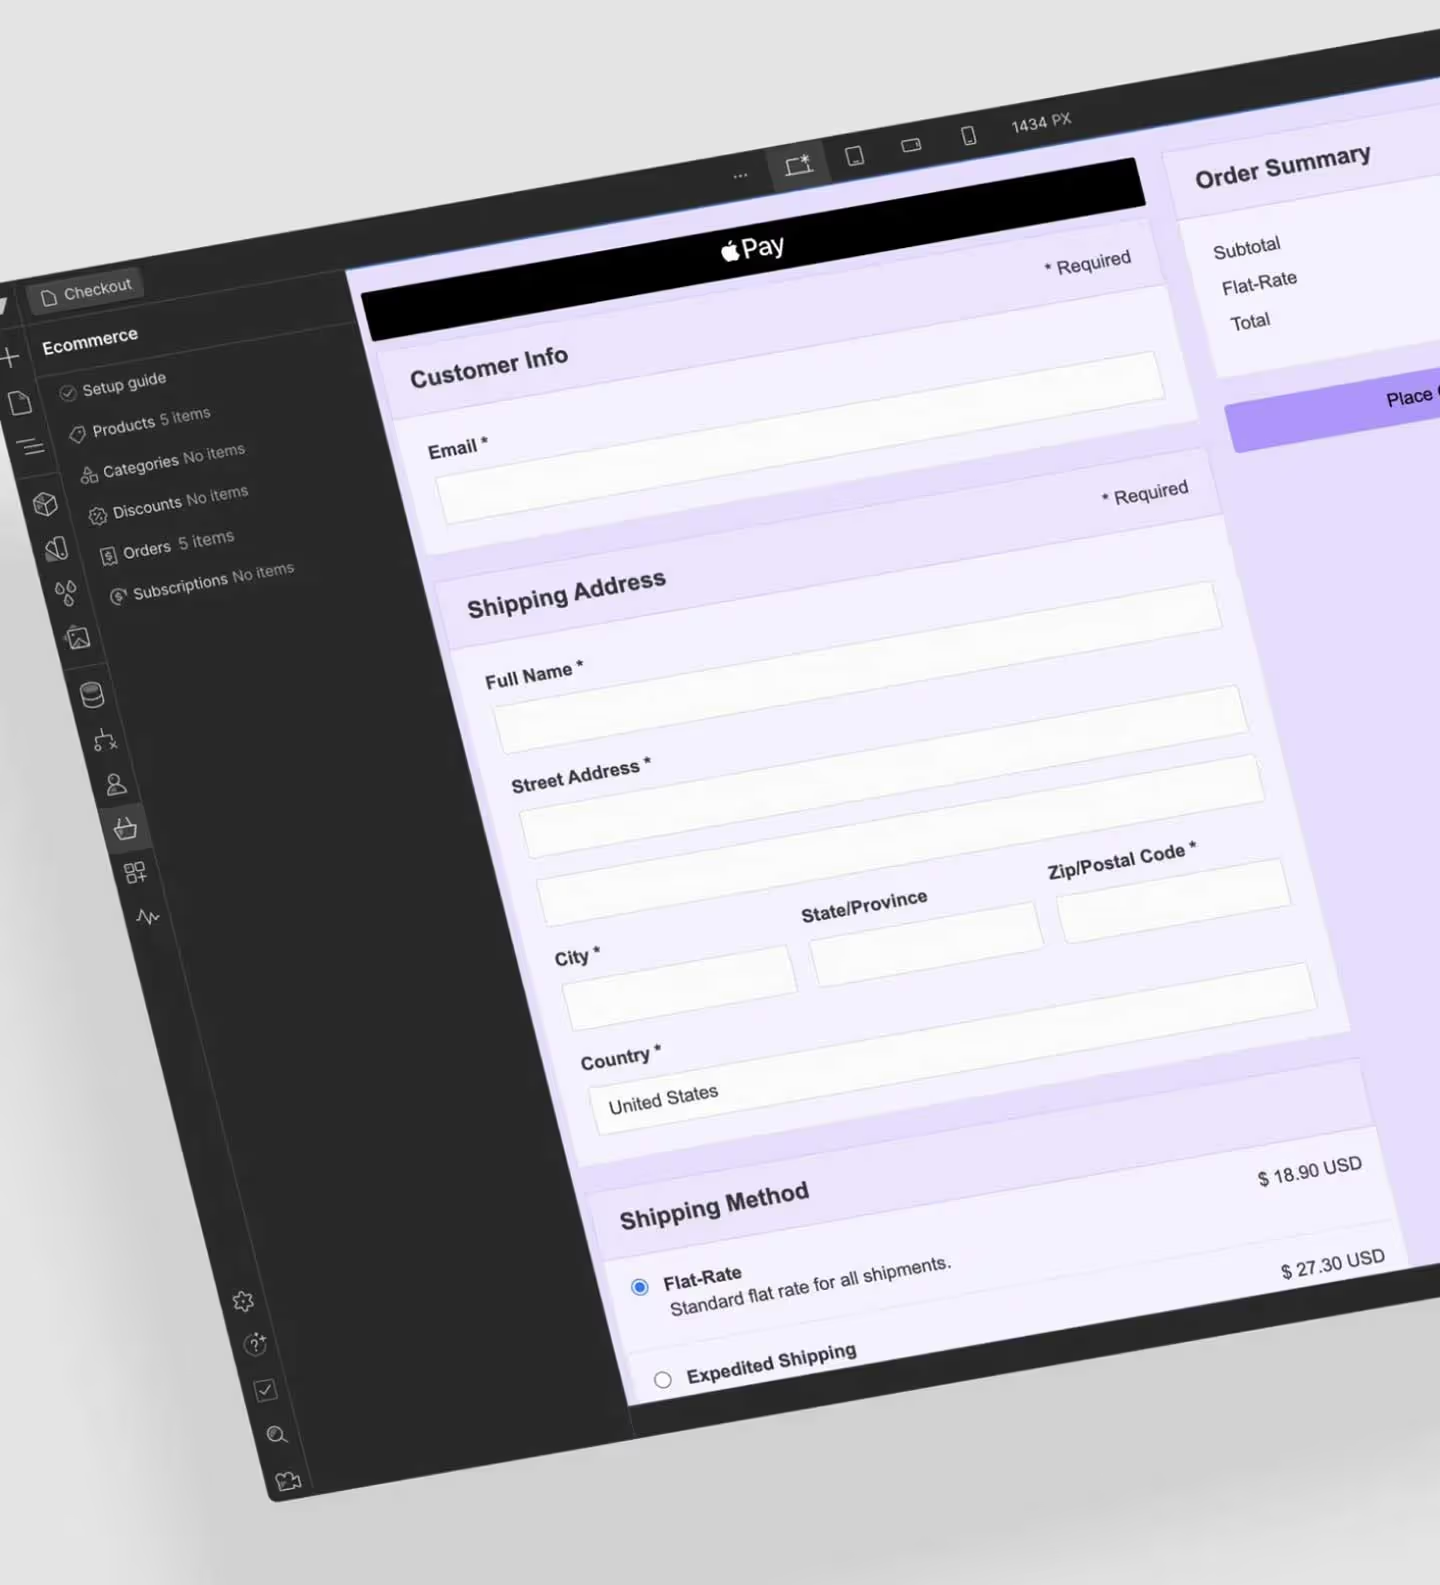
- Checkout Process: Webflow allows you to design your checkout pages with customizable forms and payment options. Keep the checkout process simple and user-friendly to reduce cart abandonment.
Step 4: Add your products
After you’ve customized your store design, the next step is adding products to your Webflow store. This can be done manually or by importing product data through a CSV file if you have a large inventory.
For each product, you can specify details like price, SKU, stock availability, and shipping options. You can also categorize your products, which makes it easier for customers to browse your store.
Step 5: Set up payment gateways
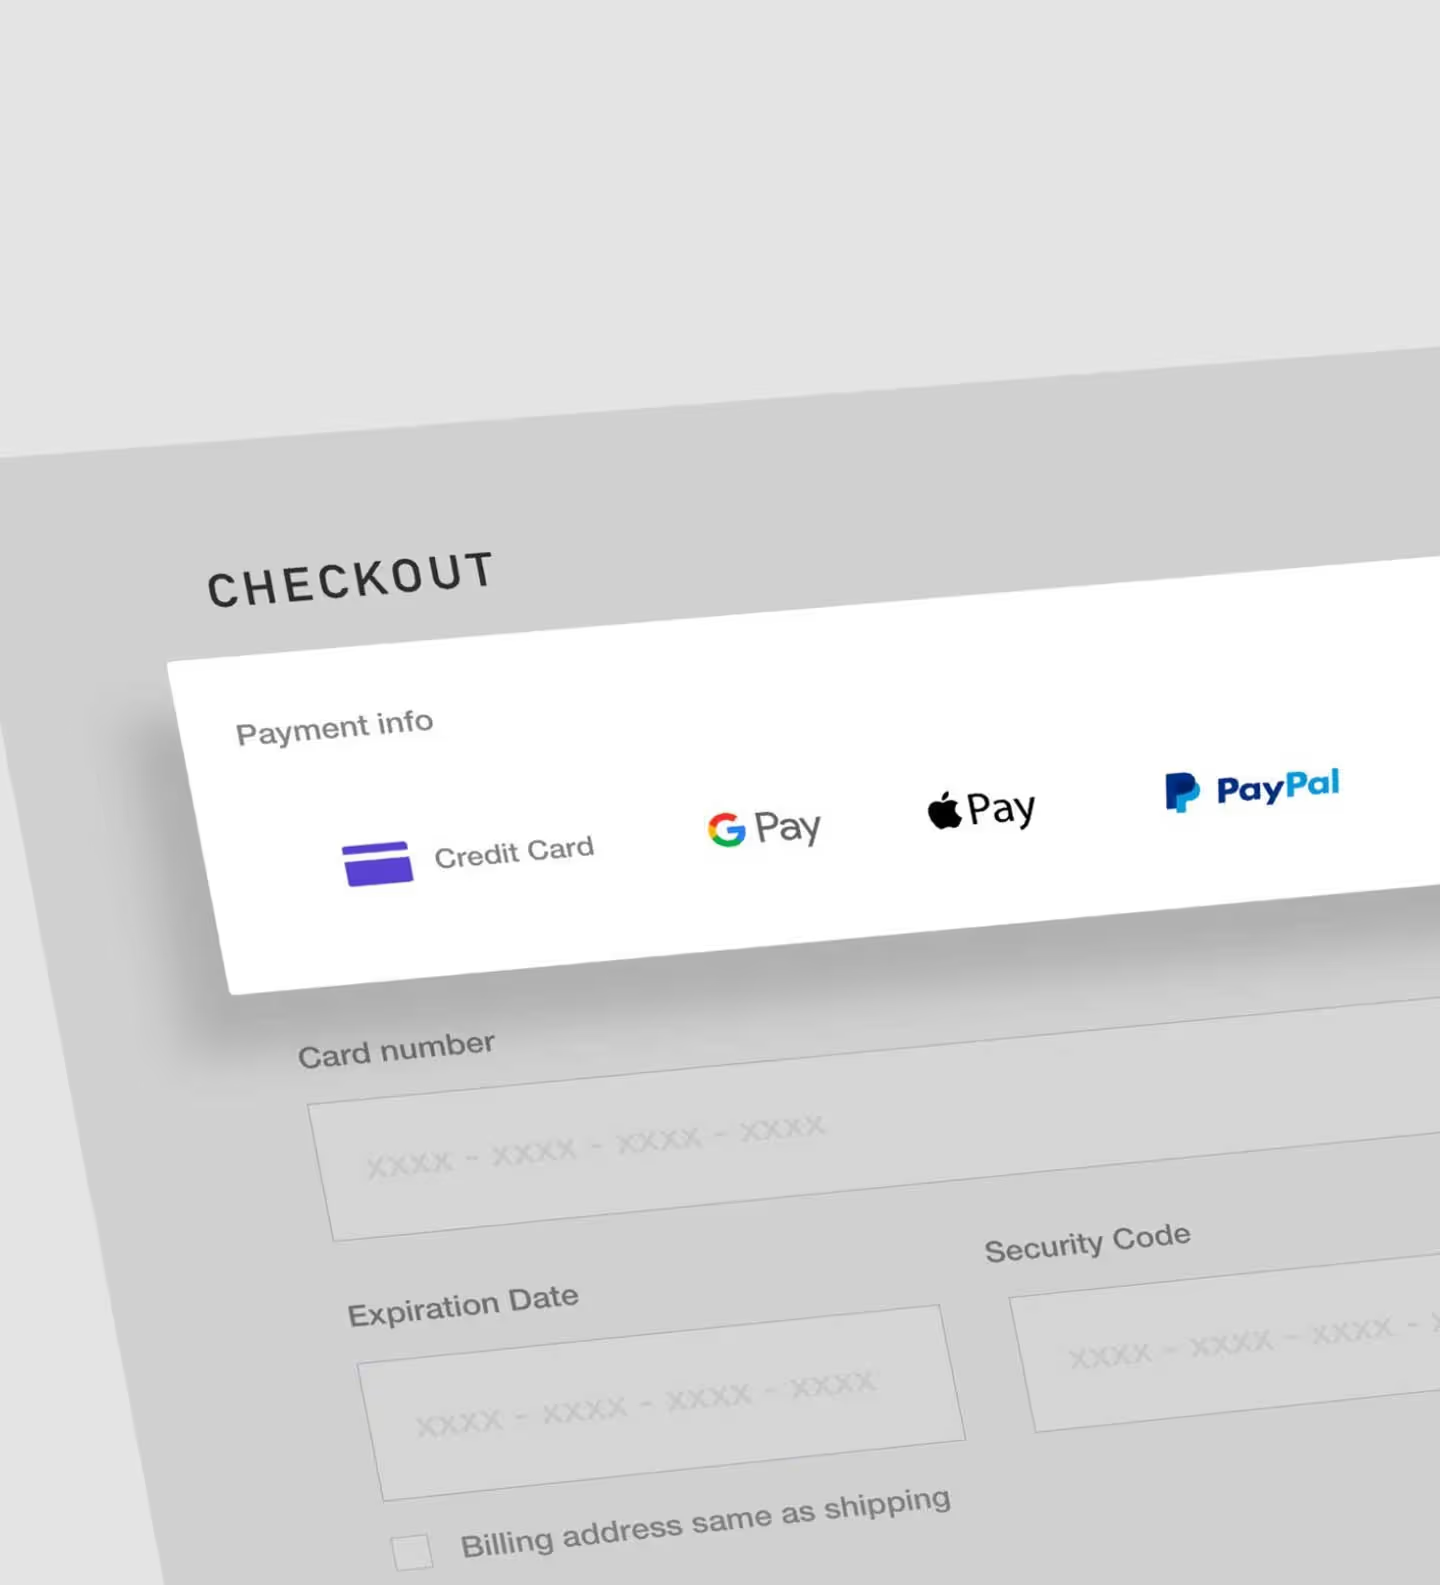
Webflow supports a range of payment gateways, including Stripe, PayPal, and Apple Pay. Setting up payment options is a crucial step in your store setup process. Choose a payment gateway that best suits your business and ensure the payment process is secure and easy to navigate for customers.
To set up a payment gateway in Webflow:
- Go to your Webflow e-commerce settings.
- Select the “Payments” tab.
- Choose your preferred payment provider and connect it to your Webflow store.
Step 6: Configure taxes and shipping
Webflow allows you to configure tax settings based on the location of your business and customers. You can set up flat rates or automated tax calculations using integrations like TaxJar.
For shipping, you can offer flat-rate shipping, free shipping, or real-time shipping rates from providers like USPS, UPS, and FedEx. Be sure to set up shipping zones and rates according to the regions you serve.
Step 7: Test your website
Before launching, it’s important to test every aspect of your website. Make sure the checkout process works smoothly, payments are processed correctly, and shipping information is accurately calculated. Testing ensures that customers have a seamless experience when purchasing from your store.
Step 8: Launch your Webflow eCommerce store
Once everything is set up and tested, it’s time to launch your Webflow e-commerce store. You can connect a custom domain to your Webflow site and publish it live. Webflow’s hosting services ensure your site will be fast, secure, and reliable.
Webflow eCommerce pricing breakdown
Webflow’s pricing for e-commerce websites depends on the plan you choose. Here’s a breakdown of Webflow’s e-commerce pricing:
- Basic Plan: Starting at $29/month, this plan allows you to sell online with Webflow’s e-commerce features, including product management and a checkout system.
- Plus Plan: Starting at $74/month, this plan includes additional features like up to 1,000 products, more checkout options, and advanced reporting.
- Advanced Plan: Starting at $212/month, this plan offers the most robust features, including 3,000 products, automated shipping calculations, and advanced e-commerce analytics.
These prices vary depending on the features and the level of customization your business requires.
Create your eCommerce website with Webflow
Building an e-commerce store with Webflow offers unmatched flexibility and design control. Whether you’re a Webflow expert or a small business owner, Webflow’s intuitive platform empowers you to create a stunning, high-performing online store. As a Webflow design agency, we’ve seen firsthand how Webflow’s e-commerce features can take a business from idea to reality, allowing entrepreneurs to sell products seamlessly across the globe.
With the ability to fully customize the design, integrate with leading payment gateways, and manage your products and orders, Webflow provides an all-in-one solution for building and scaling your e-commerce website. The ease of use, combined with powerful features, makes it the ideal platform for businesses looking to establish an online presence without the complexity of other e-commerce platforms.


.svg)
.svg)

